
How to Color Small Details Without Losing the Lines
As an Amazon Associate I earn from qualifying purchases.
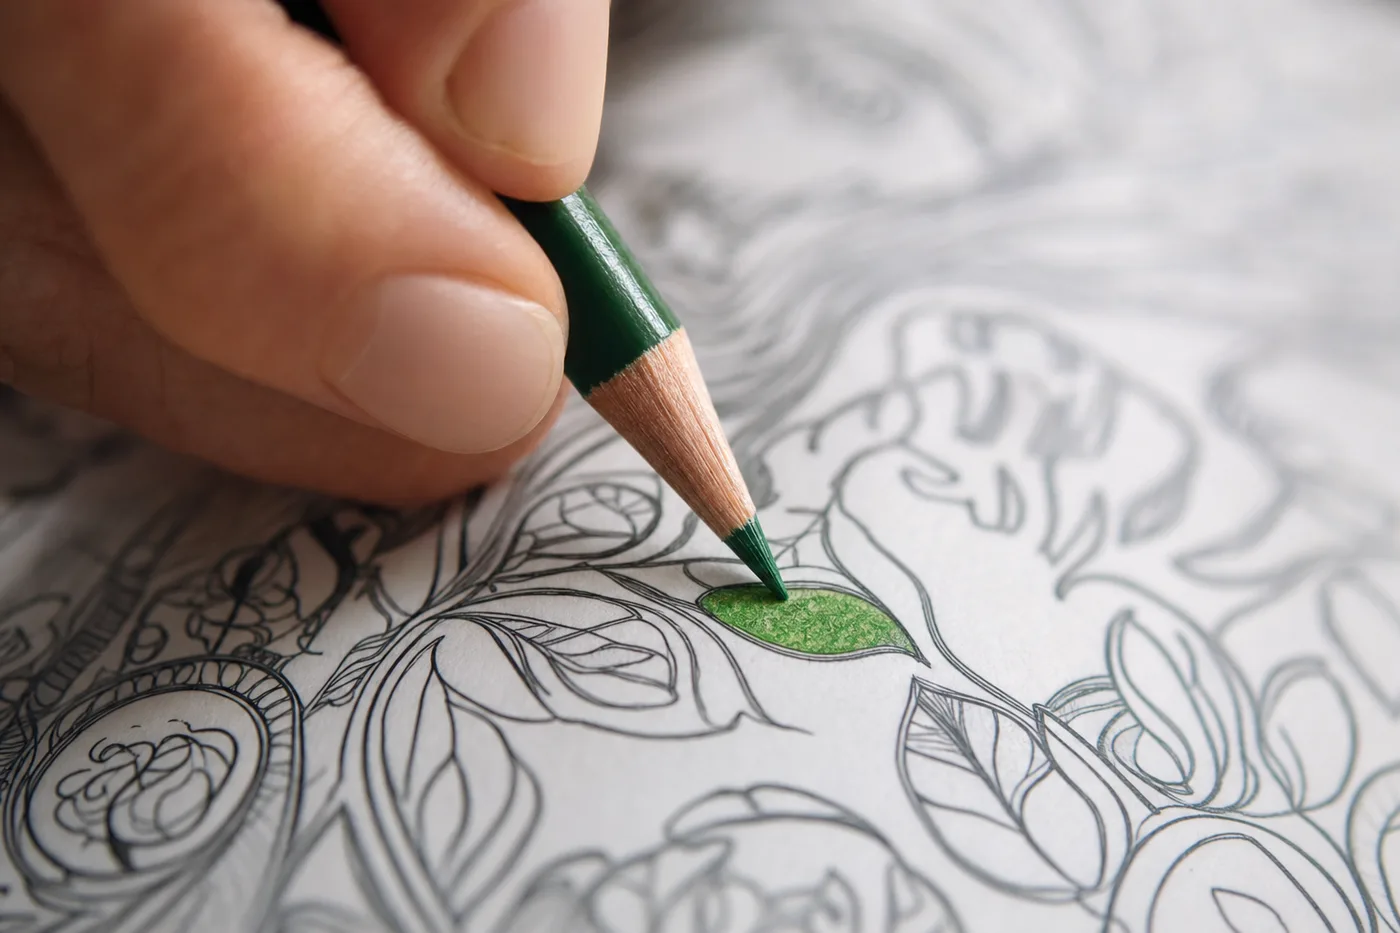
Ever finish a cat and find its whiskers have disappeared under the fur? The smallest parts of a page (whiskers, the latch on a garden gate, a row of tiny flowers along a fence) are the first to vanish under color. A few simple habits keep every one of them crisp, whether you've colored for years or opened your first set last week.
Here are the steps to try on a detailed page.
Keep the point sharp
In small spaces, a sharp point matters more than anything else. A dull point is wider than many of the shapes you're filling, so it crosses the line no matter how carefully you work.
- Sharpen before starting a detailed area, not only when the point breaks.
- Turn the pencil a little as you color. The point wears unevenly, and turning it keeps one edge sharp for longer.
- Pencils with a firmer core hold a point longer than very soft ones. If you color a lot of detail, one firmer set is worth having. Our pick: Faber-Castell Polychromos, tin of 12.
Start light and work near the line first
Press hard and you flatten the paper's texture, which leaves no room to fix anything. In small areas, heavy pressure also pushes color over the line.
- Outline the inside edge of the small shape with light pressure, just inside the black line.
- Fill the middle, still lightly.
- Add pressure only once the whole shape is covered and you're happy with the color.
Want more ways to build color? Mont Marte's guide to colored pencil techniques covers layering, blending, and burnishing.
Color from light to dark
In small spaces, the order you color in matters.
- Lighter colors first. A light color over a dark one barely shows. A dark color over a light one works well.
- Big background areas before the details on top of them? It depends. If a small shape sits inside a big area (a flower on a lawn), color the small shape first, then work the background up to it. It's easier to stop a large area at a finished edge than to squeeze a small color into a finished background.
- Darkest details last. Pupils, shadows under a chair, the gaps between fence boards.
Protect the black lines
The black lines hold the picture together. Cover them with color, especially dark color, and the page loses its shape.
- Stop just short of the line rather than on it. The line hides a tiny gap.
- Avoid dark colors right next to a line unless the shape needs it. A mid-tone reads as dark next to a light area.
- If you do cover a line, a fine black pen brings it back. Use it sparingly.
Where a fine-tip tool helps
Some details are simply smaller than a pencil point: eyes, stitching, the centers of tiny flowers, thin stems.
- Fine-tip pens (0.3 to 0.5 mm) for small solid areas and dots. Our pick: 36 dual-tip markers with fine and brush tips.
- Gel pens for highlights on top of pencil, such as a bright spot in a cat's eye or light on a window. White gel pen is the most useful one. Our pick: Brusarth white pen set.
- Pens don't layer or blend like pencil, so use them last, once the pencil work is done.
Rest your hand on paper, not on color
Your hand smudges what it rests on. Keep a scrap of paper under your hand, and work from the top of the page down (or from the side opposite your drawing hand) so you aren't leaning on finished areas.
A page to practice on
Cozy Cats, Through the Seasons has cats in gardens, on window seats, and by the fire, with small details like leaves, cushions, and whiskers. For wider spaces while you practice, the three free pages from The Art of Doing Nothing are a good start.
New to coloring? A first coloring kit for adults covers the basic supplies.